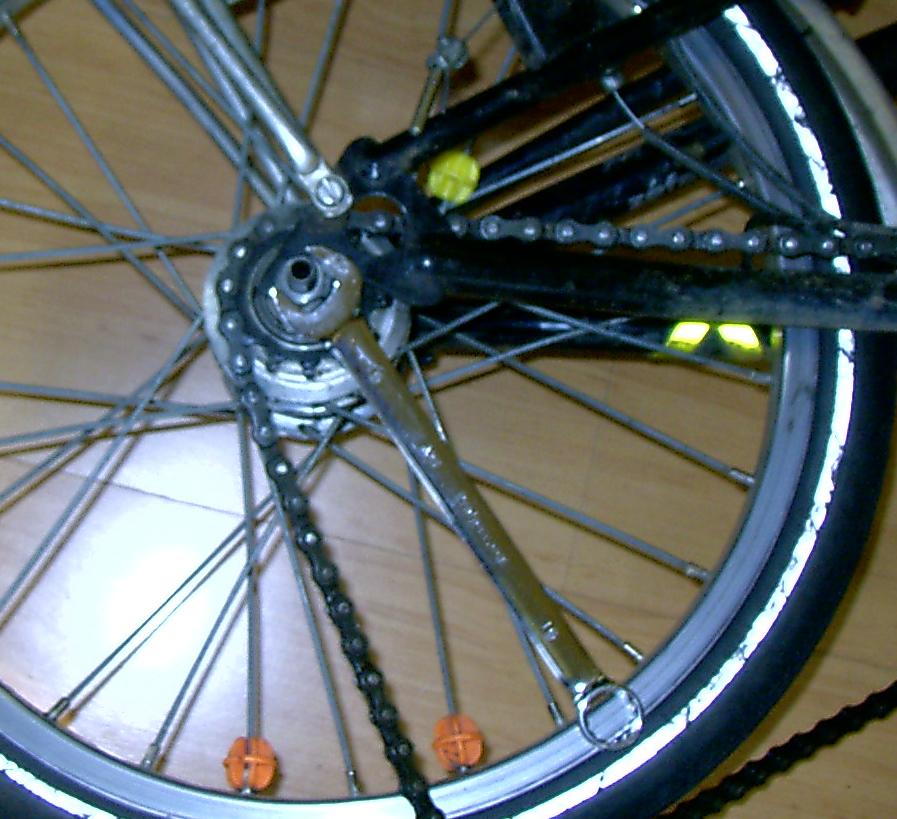
Typically 75% of my weight is on the rear wheel when I ride my Brompton, even before I load the rear deck with gear as I often do. This explains why most flats occur on the rear tire, and why I've had to replace the rear tire once already before getting 1,000 miles on the bicycle.
I fix flats the hard old-fashioned way, by removing the rear wheel from the bicycle, then removing and patching or replacing the inner tube. I've heard of people deflating the tire, removing it from the wheel, and patching the inner tube while the wheel remains on the bicycle, but I have not tried this method of fixing flats. If you're familiar with it, perhaps you could produce a guide like this one!
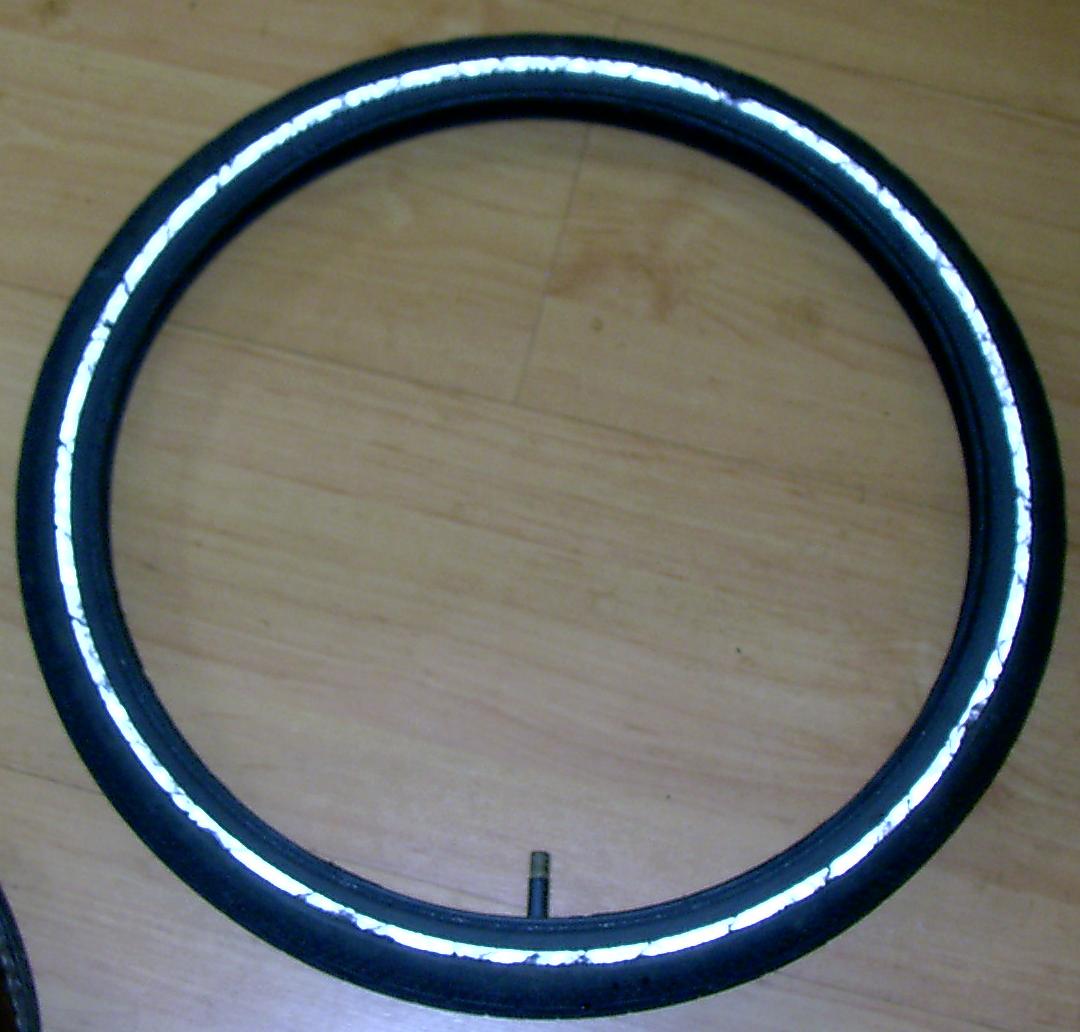
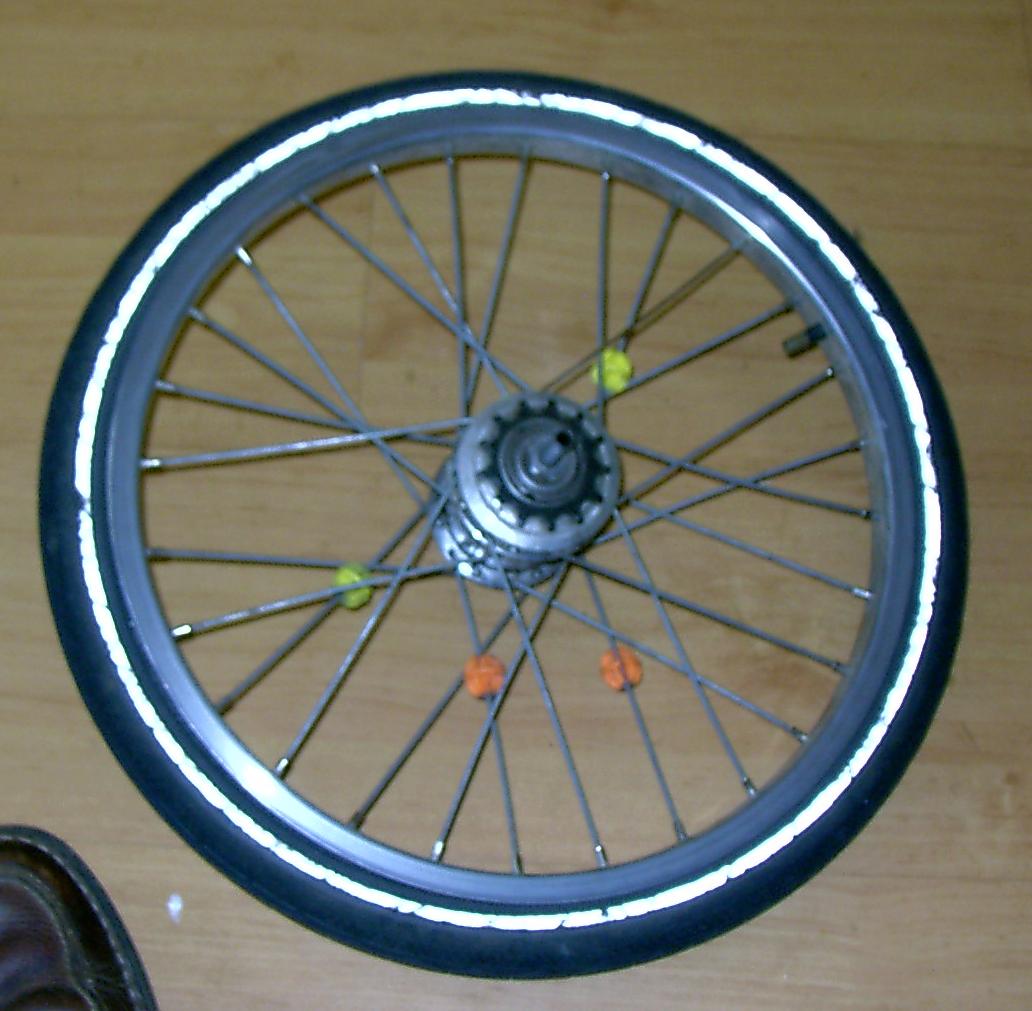
My Brompton is a 1999 T5 model with the 5-speed Sturmey-Archer 'Sprinter 5' hub and rear cargo deck. Earlier or later models may differ in details, especially how to undo the cables to the internal hub. But most of these directions should be useful for any model of Brompton. The tire is a Brompton 'bright stripe'model, with kevlar armor incorporated to help prevent punctures like the one which I have documented fixing here.
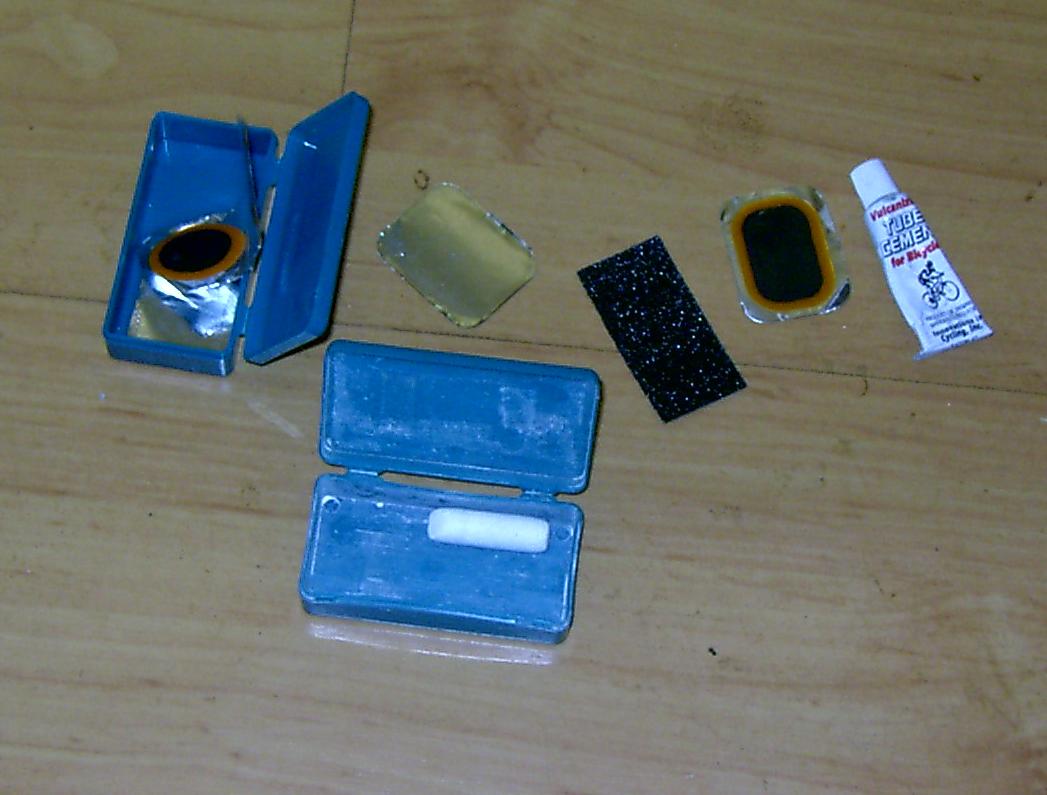
You will need a clean, well-lit space big enough to lay the unfolded bicycle on its side and still walk all the way around it. A chair where you can sit with the Brompton wheel on edge in your lap is also very handy. A very small tool set is sufficient: a set of bicycle tire levers (plastic ones will do fine -- most bicycle stores carry them in sets of three), a 15 mm crescent wrench, a bicycle pump (I prefer the floor-standing models), and a bicycle tire gauge. You'll also need either a new inner-tube or a patch kit, as shown. Bromptons take a 16x1&3/8 inner tube which must often be special-ordered. The more usual 16x1&3/4 tube will not fit a brompton wheel. Patch kits are available at every bicycle shop and many department stores for under $5. Chalk, a large pan of water, and possibly a coin may also come in handy if you intend to patch rather than replace your inner tube. You will also need either serious mechanics hand cleaner/degreaser (lava brand soap works for me) or a couple of disposable surgical gloves for some steps.
Often the most difficult things to understand about a new project are the assumptions which experienced people automatically make. All the nuts you will encounter here turn clockwise to tighten, and counter-clockwise to loosen. That means 'righty-tighty, lefty-loosy", if you are looking at the edge of the nut farthest from your wrench. Look closely at the wrench, and you will see that the open end is cocked to the left. The proper way to put a wrench on a bolt or a nut is so that it is cocked in the direction in which you want to turn the nut; doing it the other way is may make it easier for the wrench to slip off the nut.
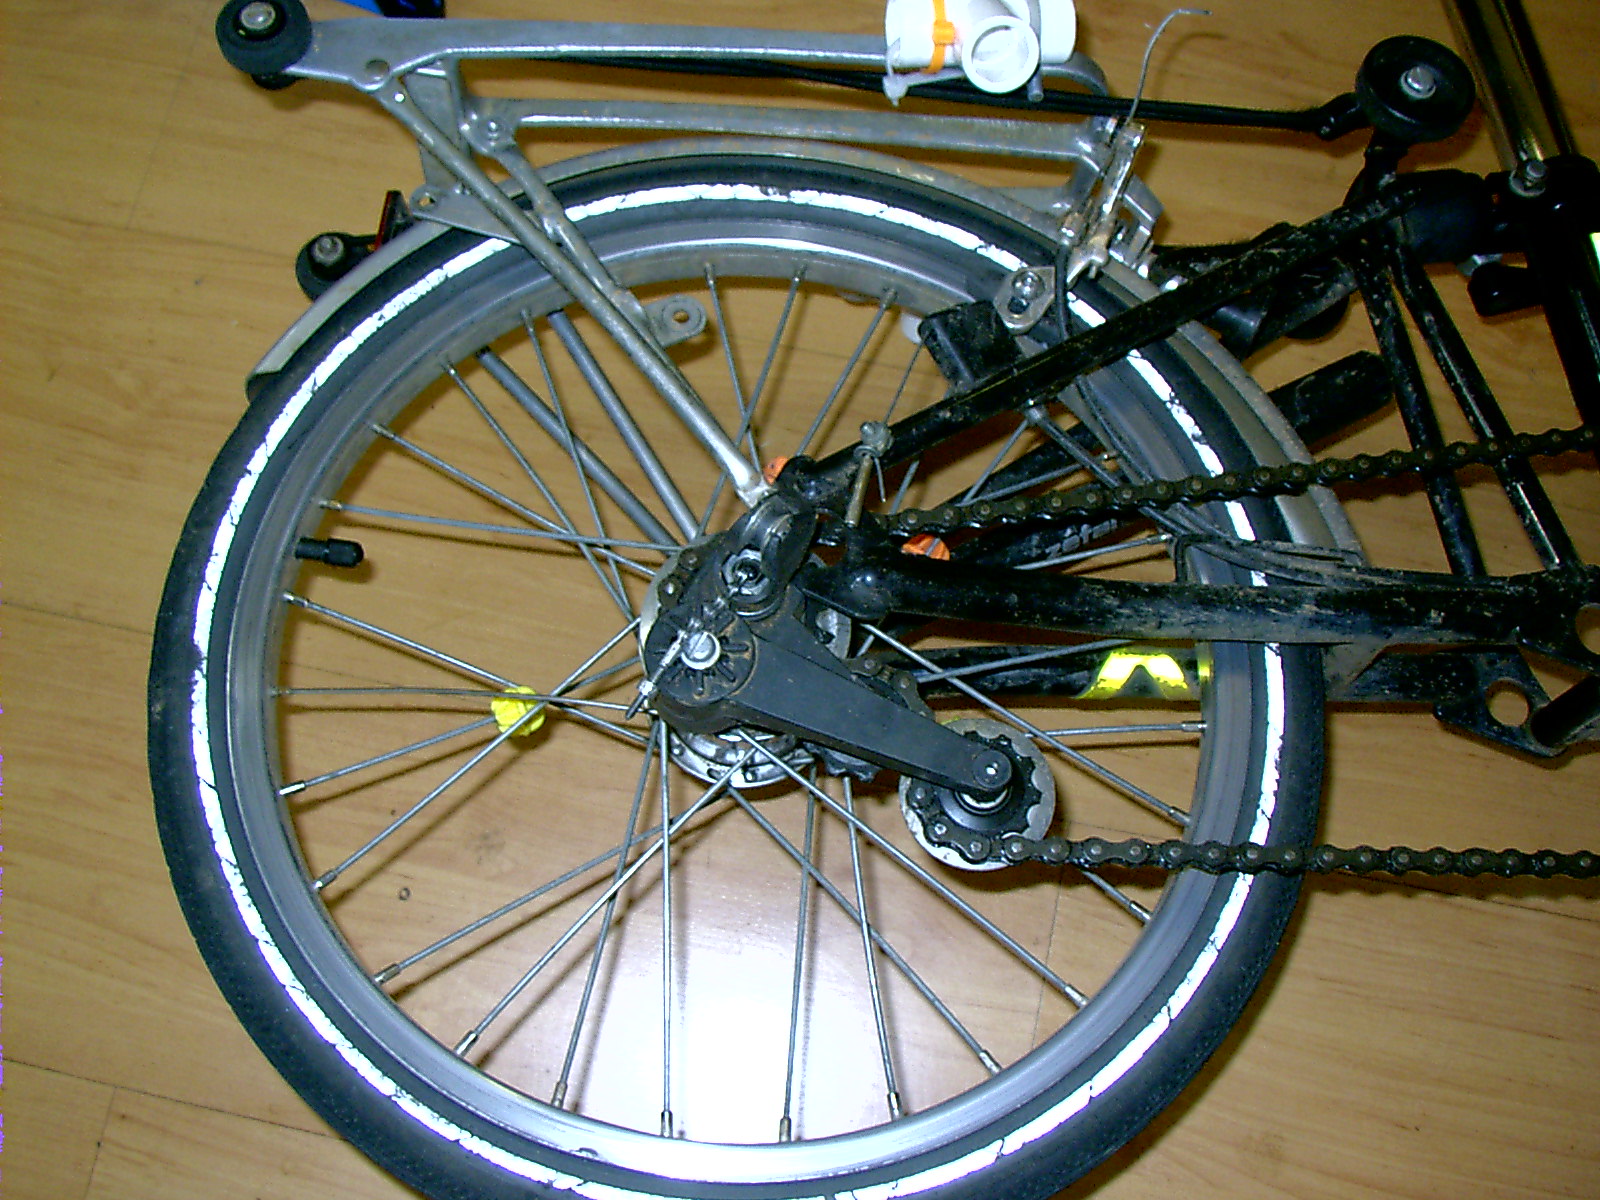
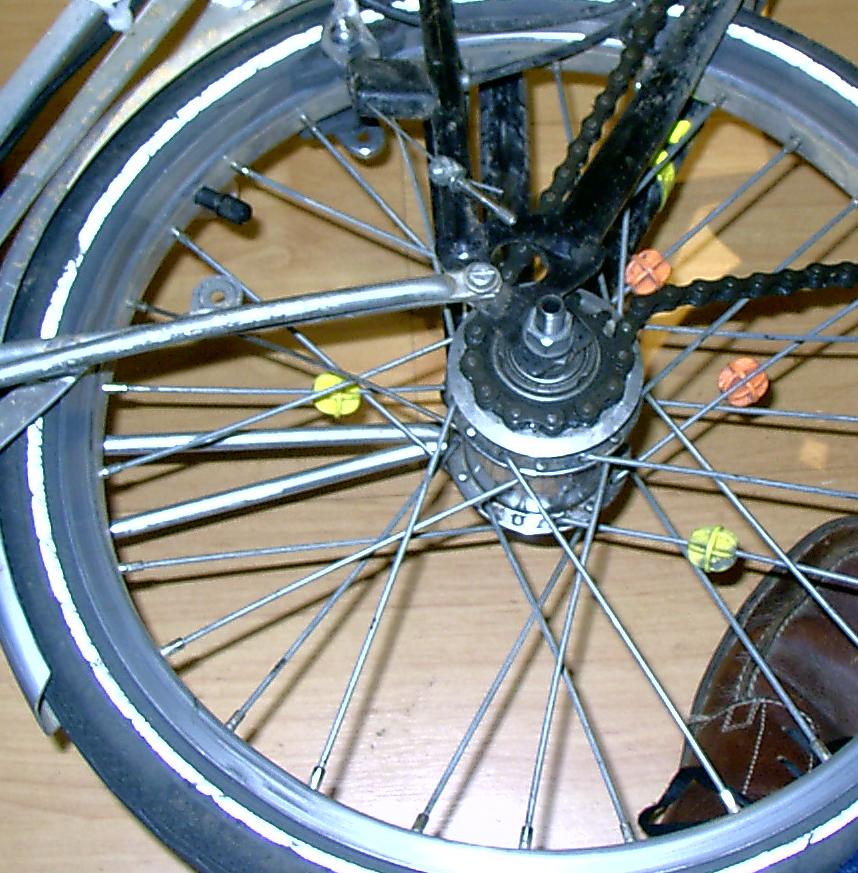
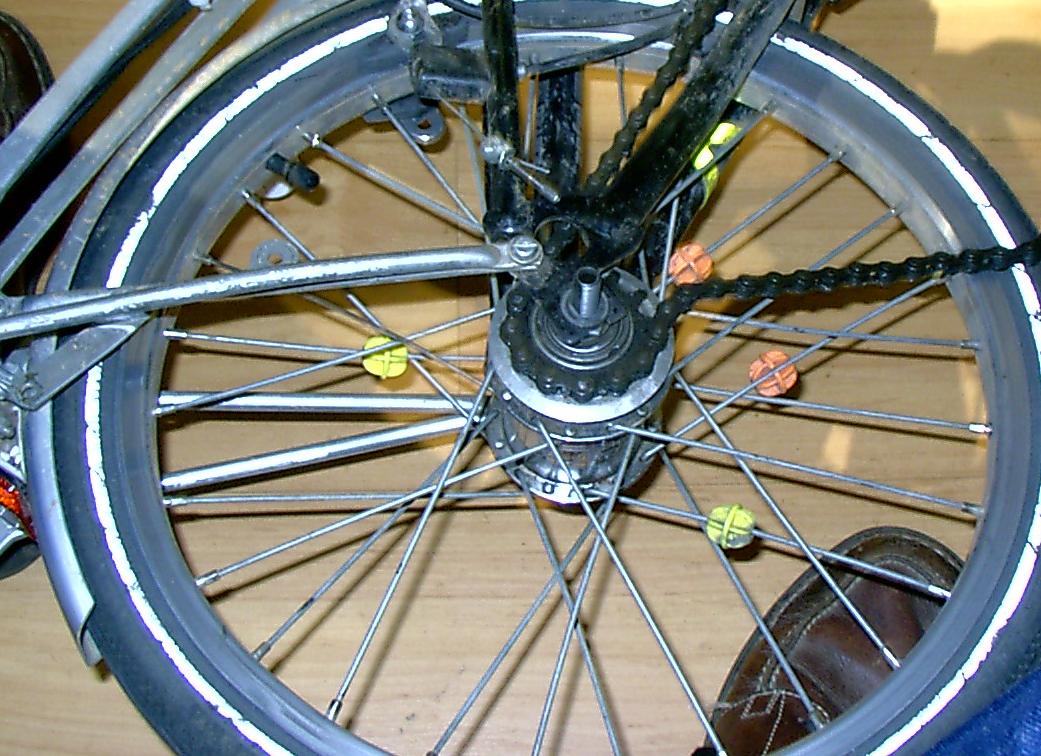
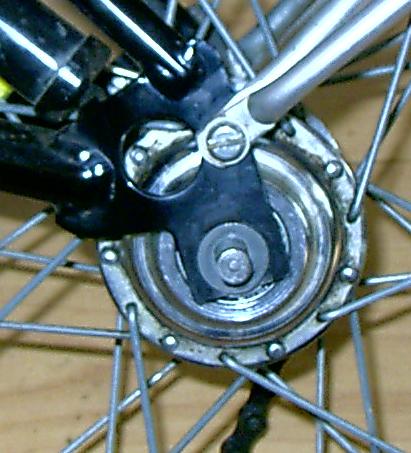
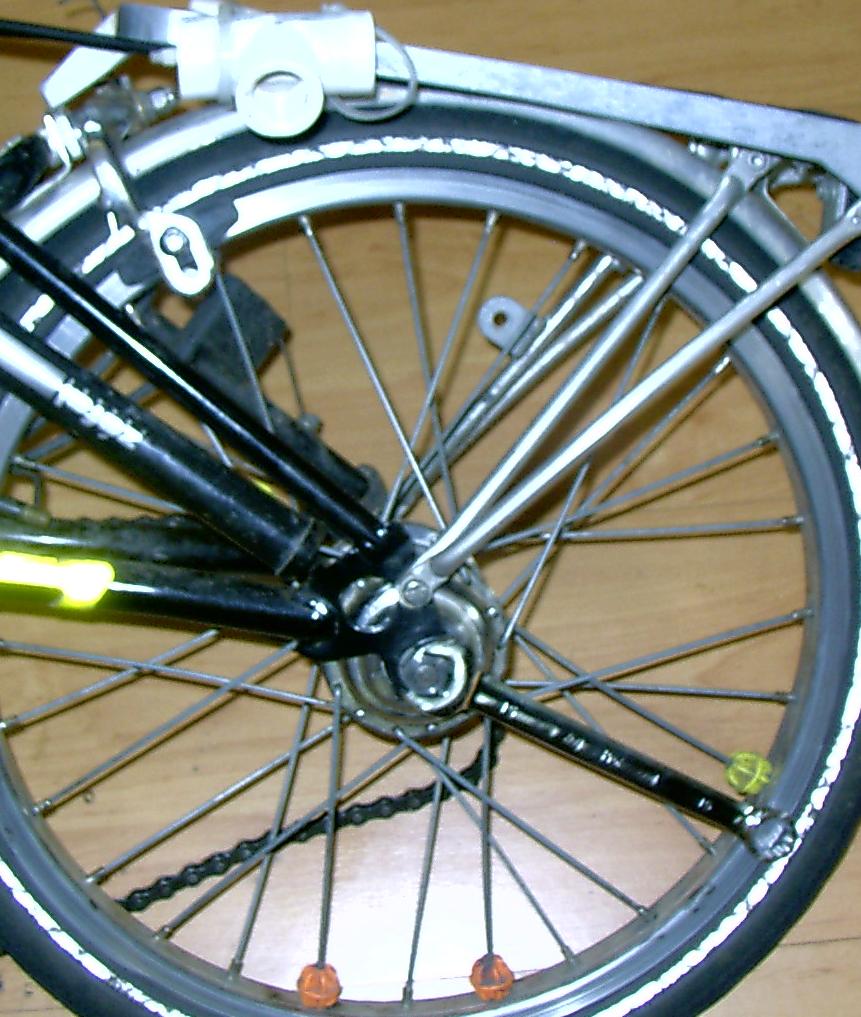
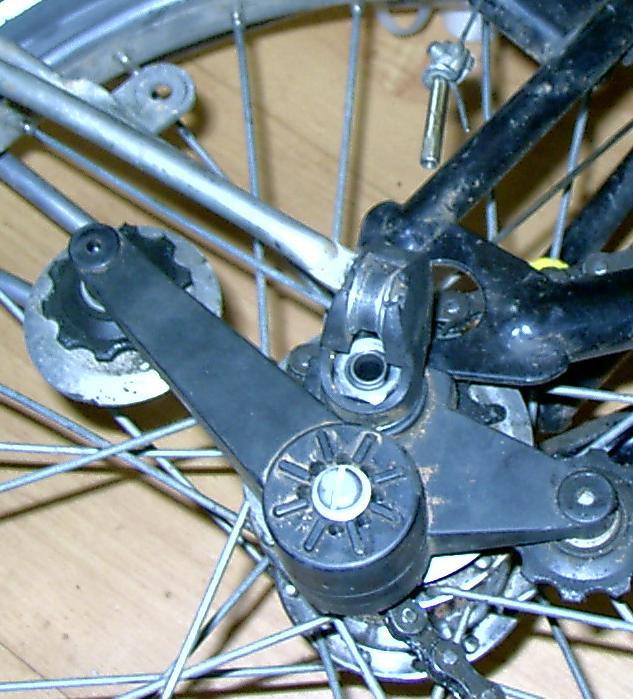
The first step in removing the rear wheel from a Brompton is to detach the gearshift cable from it. On my hub, this means unscrewing the jam nut which holds the cable adjuster steady, then unscrewing the cable adjuster until the little cable adjuster chain is free This is one detail which may differ on your bicycle; earlier 5-speed Bromptons may have two cables going into the hub. Three- and six- speed Bromptons should look much like the picture though.
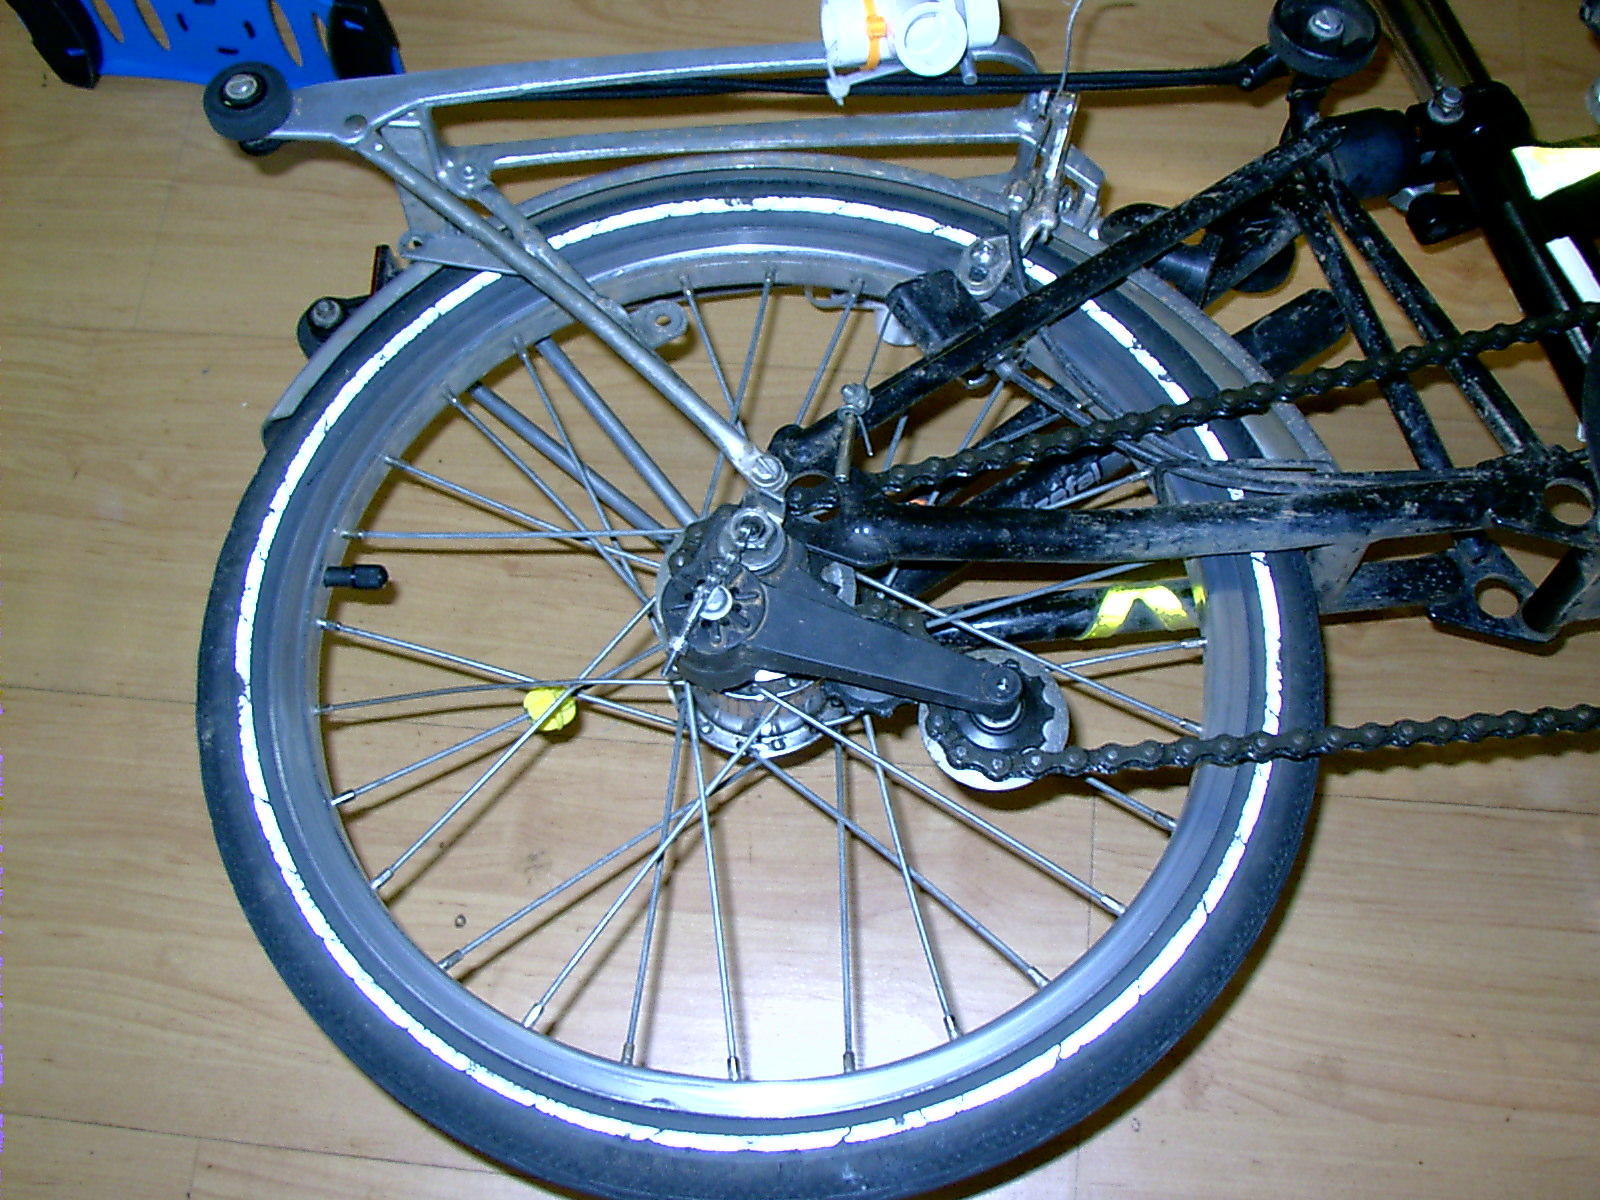
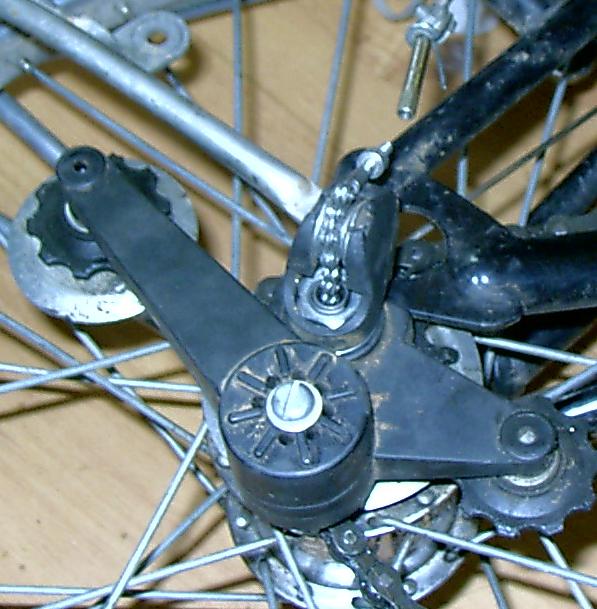
Next, remove the cable adjuster pulley assembly from the axle. This plastic piece should pull straight off, revealing a tab which keeps it properly oriented. Unscrew the adjuster skewer from the internal gear train by twisting the adjuster chain counter-clockwise.
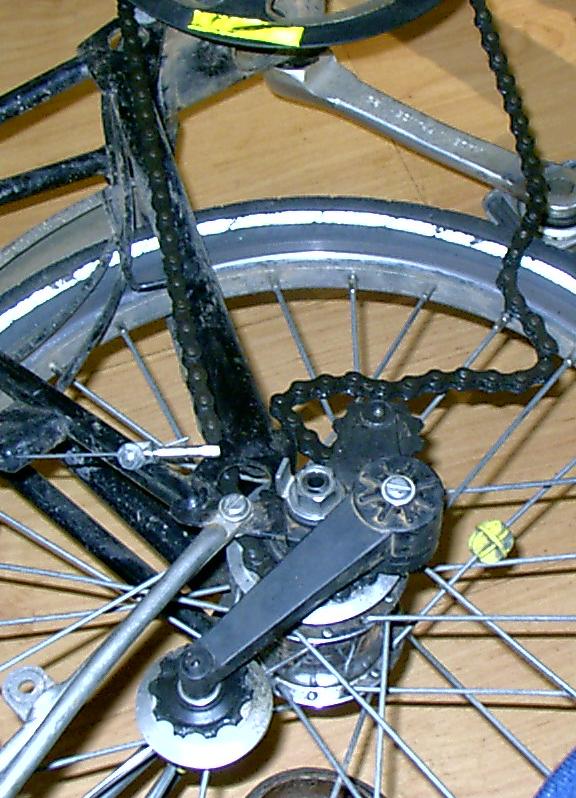
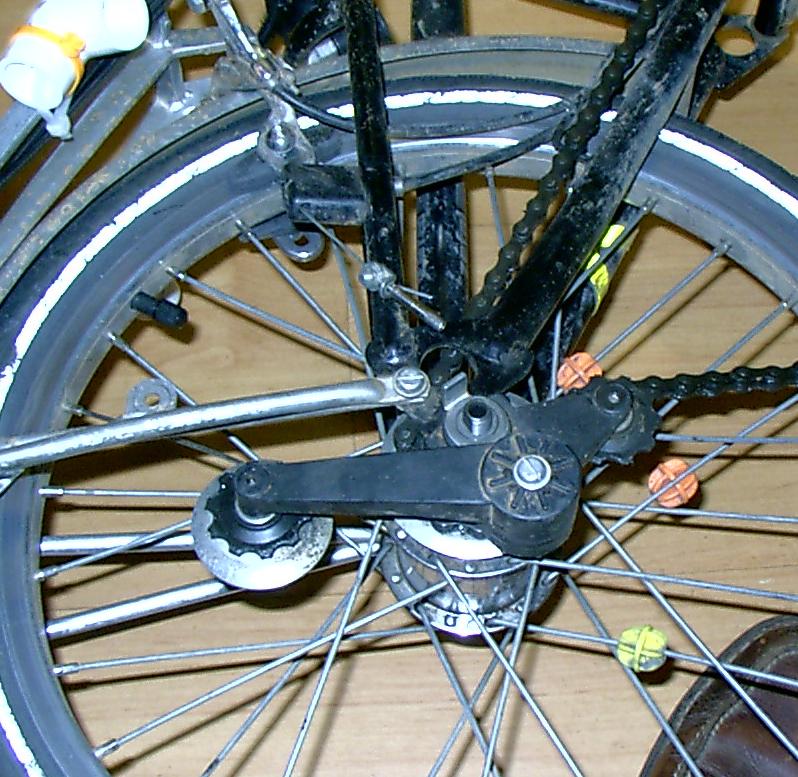
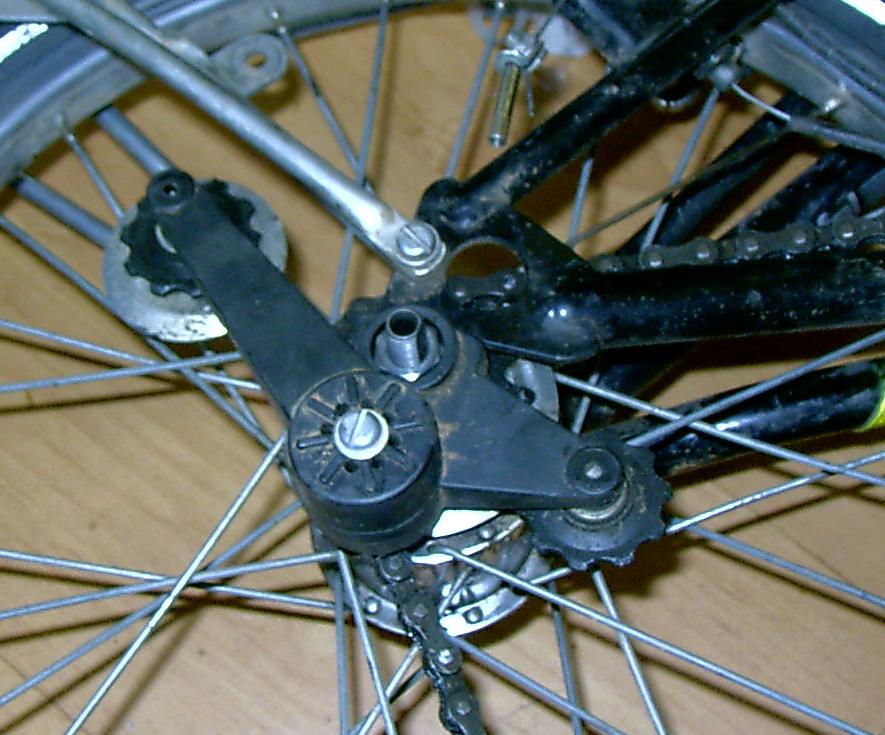
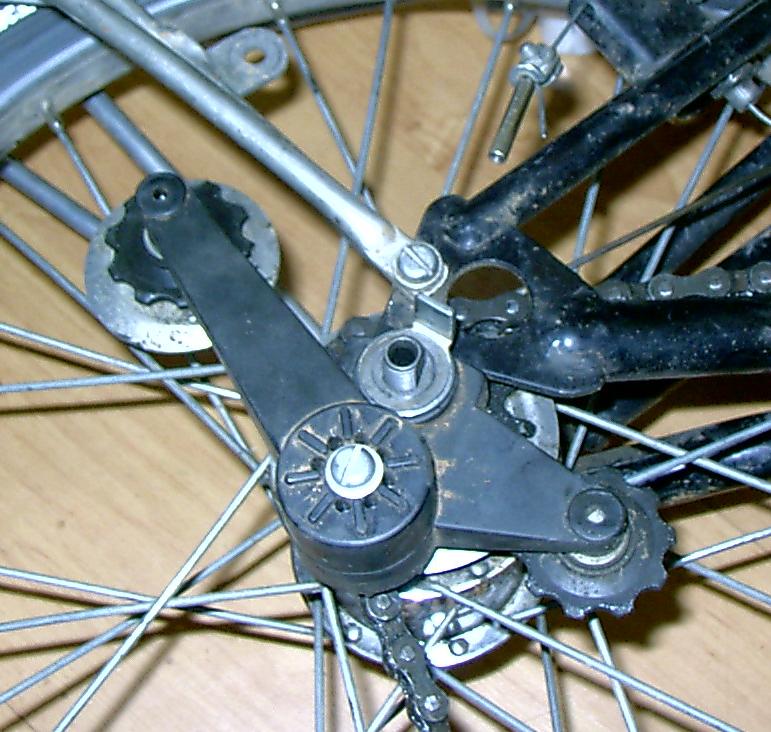
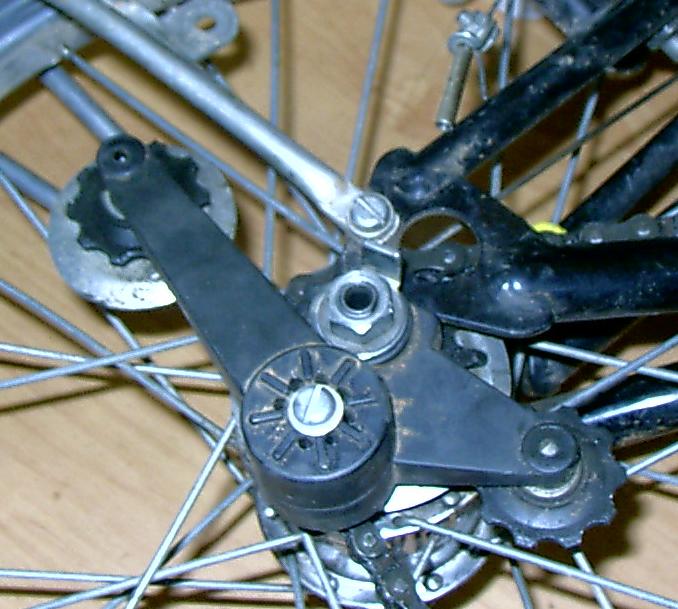
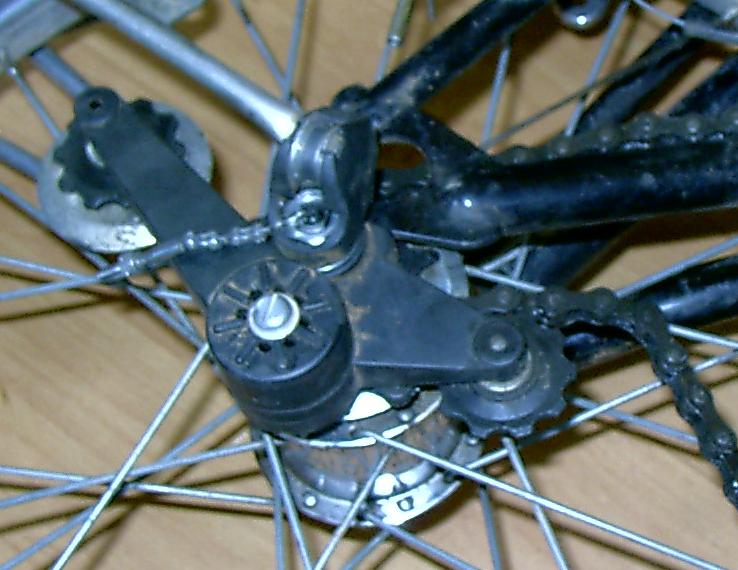
Now you are ready to remove the chain from the chain tensioner. This can be a messy job if you use silicon chain lube. You may wish to don disposable gloves for it if you don't have access to serious mechanics' hand-cleaner. Fold the bike part-way on the ground, then move the chain tensioner arm to loosen the chain. Now pull the chain off the lower idler wheel, and manipulate it off the upper one until it is free.
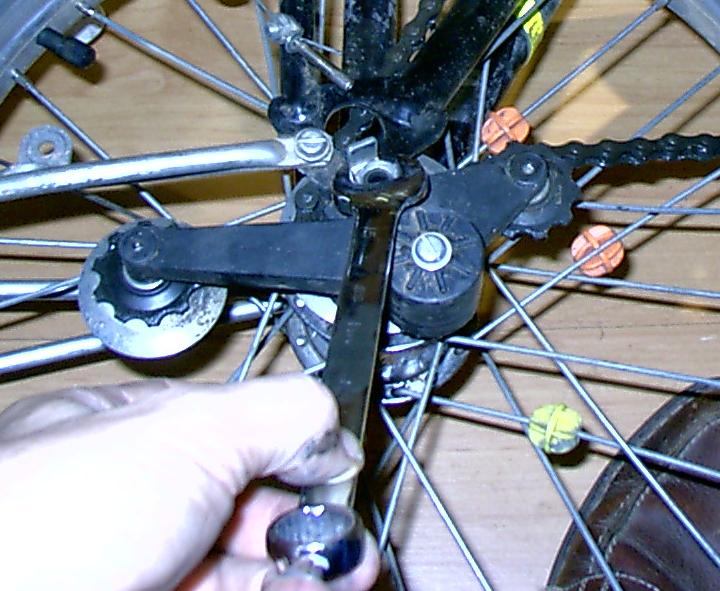
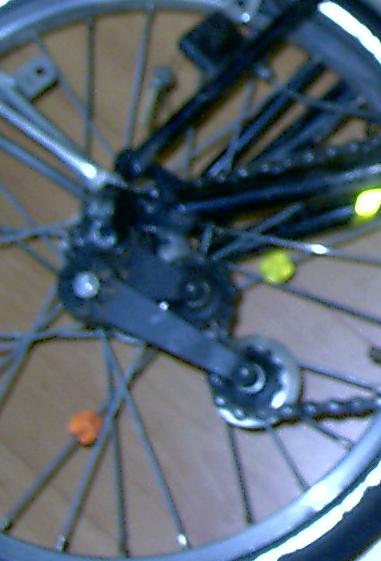
Now you are ready to remove the first drive-side nut. Put your socket wrench on the nut over the chain tensioner and remove the nut. Next, take off the two washers beneath this nut; one has a hole with straight sides, and the next has the tab which holds the gearshift pulley assembly in its proper orientation. Next, remove the chain tensioner assembly, which should lift straight off the axel in much the same way as the gearshift tensioner pulley did. You should now be looking at the second drive side nut. Remove it as well, so that you can see the final washer and the rear fork plates which holds the rear wheel.
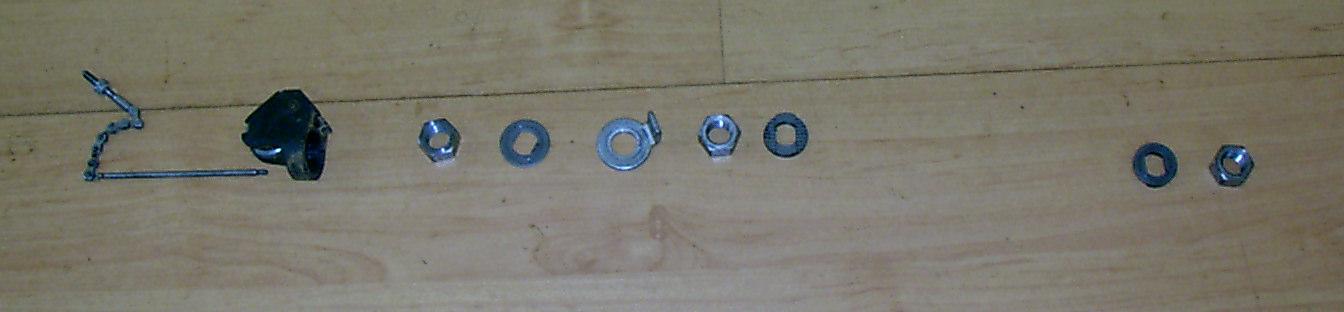
Now, flip the bike over. The last washer should stay in the axle, held there by nubs on its underside. Remove the single nut which holds this side of the axle to the bicycle fork plate. Now you can remove the bicycle wheel from the bike, untangling it from the drive chain as you go. Take off the two innermost washers and put them aside. Here are the parts you have removed in order, with the wheel in the middle and the drive train on the left.
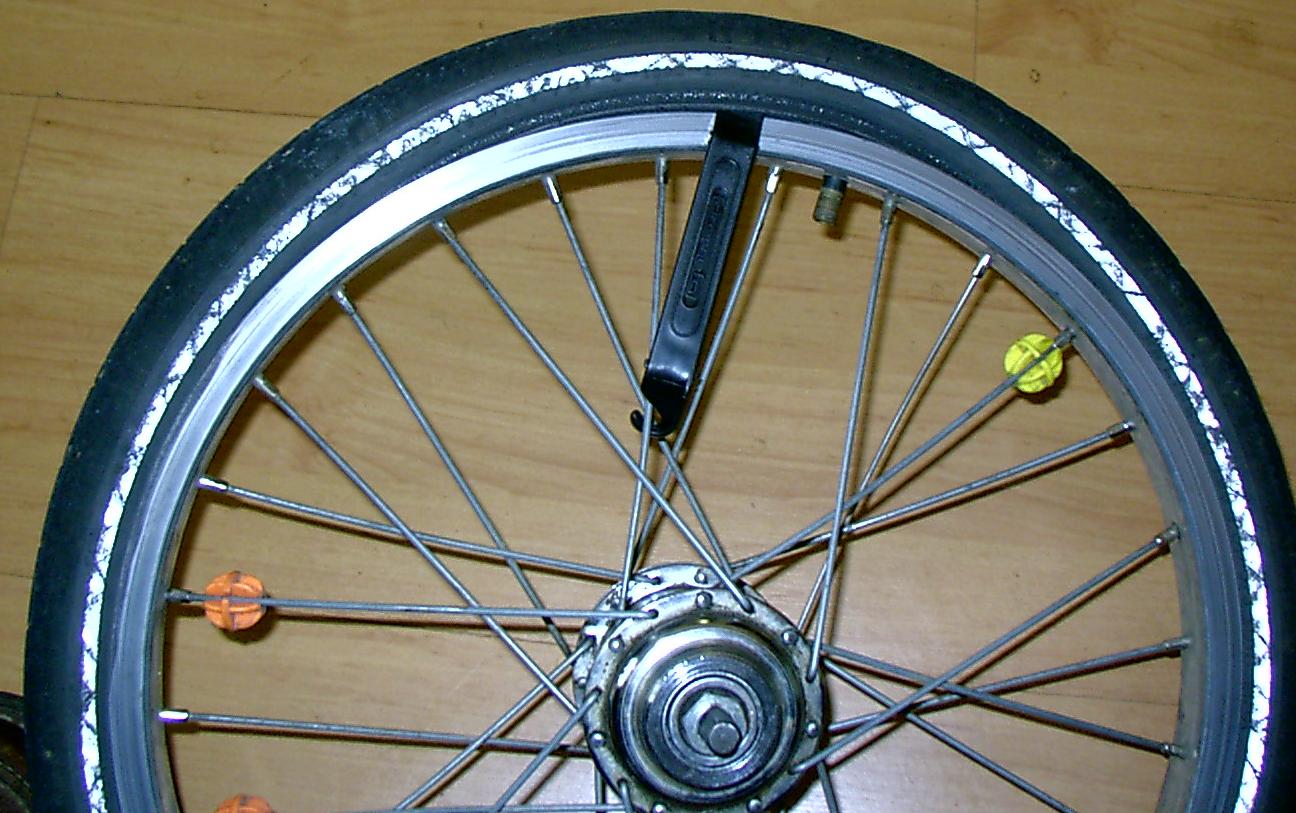
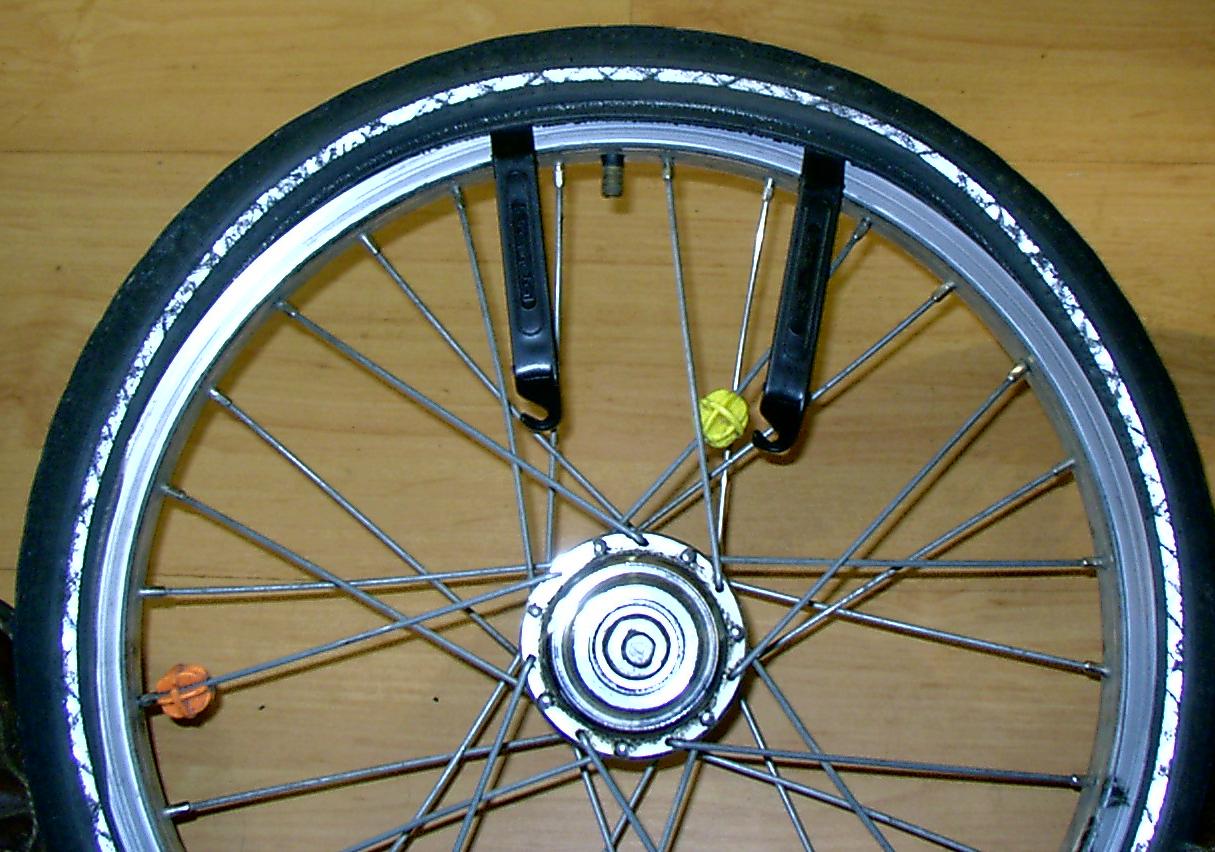
If the tire is not already completely deflated, remove the dust cap from the tire valve and press its center pin until it stops hissing. Walk your hands around the wheel pressing the sides of the tire toward the center to make sure that the bead (that's the part of the tire which is actually under the rim) is free. Now push the blunt end of one of your tire levers from the top of the rim into the side of the tire, then lever it around to catch the bead of the tire and pull it outward. This will give you room to push a second tire lever under the bead. You can now move the second tire lever all the way around the wheel to force the bead completely out from the rim. Now you're ready to remove the tire and inner-tube from the wheel by gently forcing them apart. Remove the inner-tube from the tire. Thus endeth the disassembly portion of these instructions.
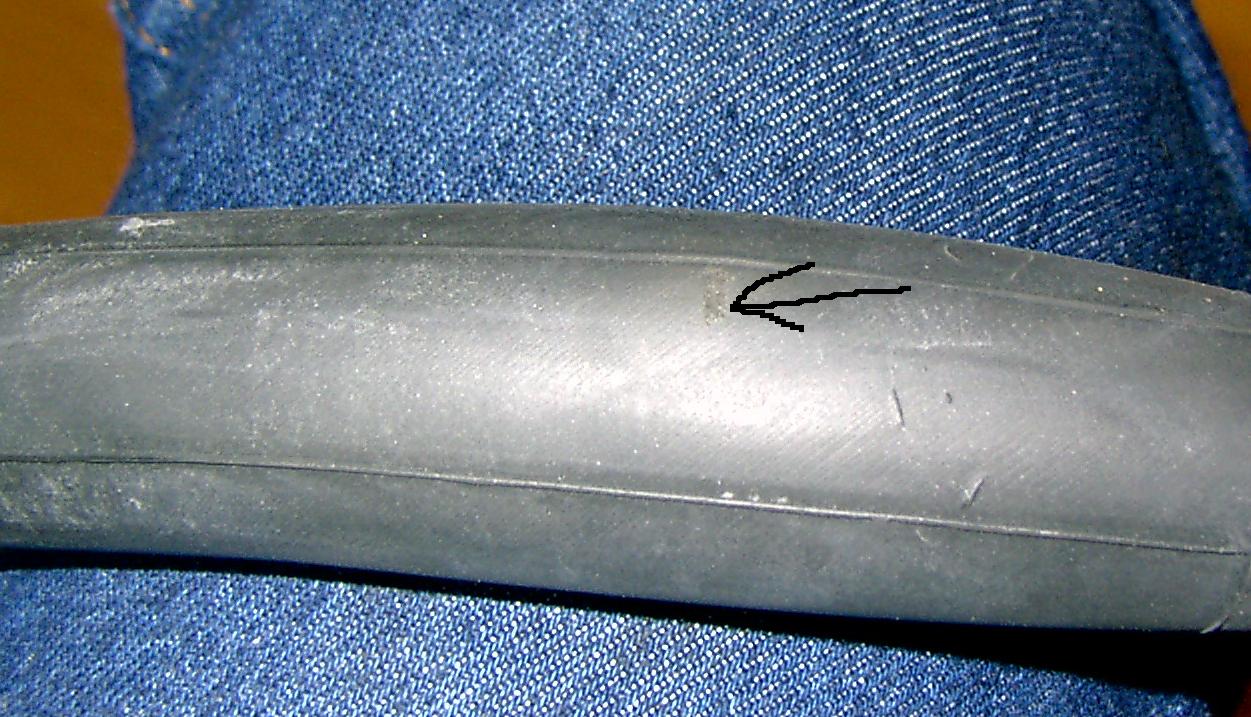
First, inspect the inner side of the tire to make sure that whatever caused the flat is not still ready to do harm. Use your eyes and hands for this, but move slowly -- it's surprisingly easy to cut yourself on a sliver of glass still embedded in a tire. Remove any bits of glass, pieces of metal, or thorns you encounter. Next, inspect the outside of the wheel and verify that there are no sharp edges there which might tear your inner tube. If you find something here, you can tape it over with duct tape or file it smooth. When you're satisfied with these steps, inspect the inner tube to find the leak. Inflate the tube to about thrice its normal diameter and search for hissing noises or funny smells. I like to put my lips close to the tube for this step, since they're more sensitive to moving air than my fingertips. You can also smell a distinctive odor of old rubber near a bicycle tire leak. As a last resort, you can immerse the inner tube in a pot of water and easily see bubbles coming from the smallest leak. In this case, I was able to find the injury quite easily; I've drawn an arrow to it in the picture. Deflate the tire once you've found your leak.
I usually patch the first two holes in my tubes, then replace them on the third. In the USA, I have to special-order the tubes, so I make a point of having one in reserve in case of catastrophic damage. In this case, I had a brand-new innertube with only a small hole in it, so I elected to patch. If you get too many patches in a small area of the tube, you may find that it bumps a little bit as you ride it. This is annoying but not usually dangerous.
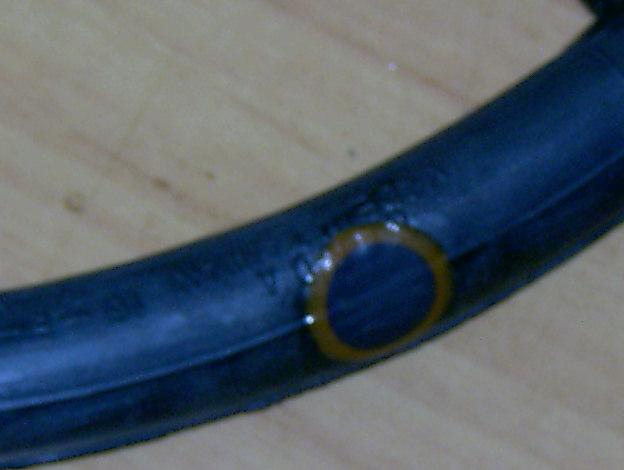
Tire patch kits typically contain a small piece of sand paper, a couple of patches, a tube of glue and some patches. I also like to keep a small piece of chalk around to mark the hole if it's too small to see easily. To patch your tube, first roughen an area around your hole with the sand paper. The area should be a little larger than the patch you intend to apply; your patch should be the smallest one you can find which completely covers the hole. Squeeze a drop or so of glue from the tube onto the hole, then spread it around until it soaks into the tire. Do this to an area slightly larger than the patch. Now peel the foil off the sticky side of the patch. Center the sticky side of the patch over the hole and press it home, handling it by the side with plastic on it. Place the patched tire on a hard surface with the patch facing up, and rub the patch with the blunt end of your tire iron or a coin until the plastic covering the outside of the patch comes loose and you can peel this covering off. It's best to work from the center of the patch out for this; the plastic will usually tear a little bit if you rub it hard enough. The finished patch should be bonded all around with the tube.
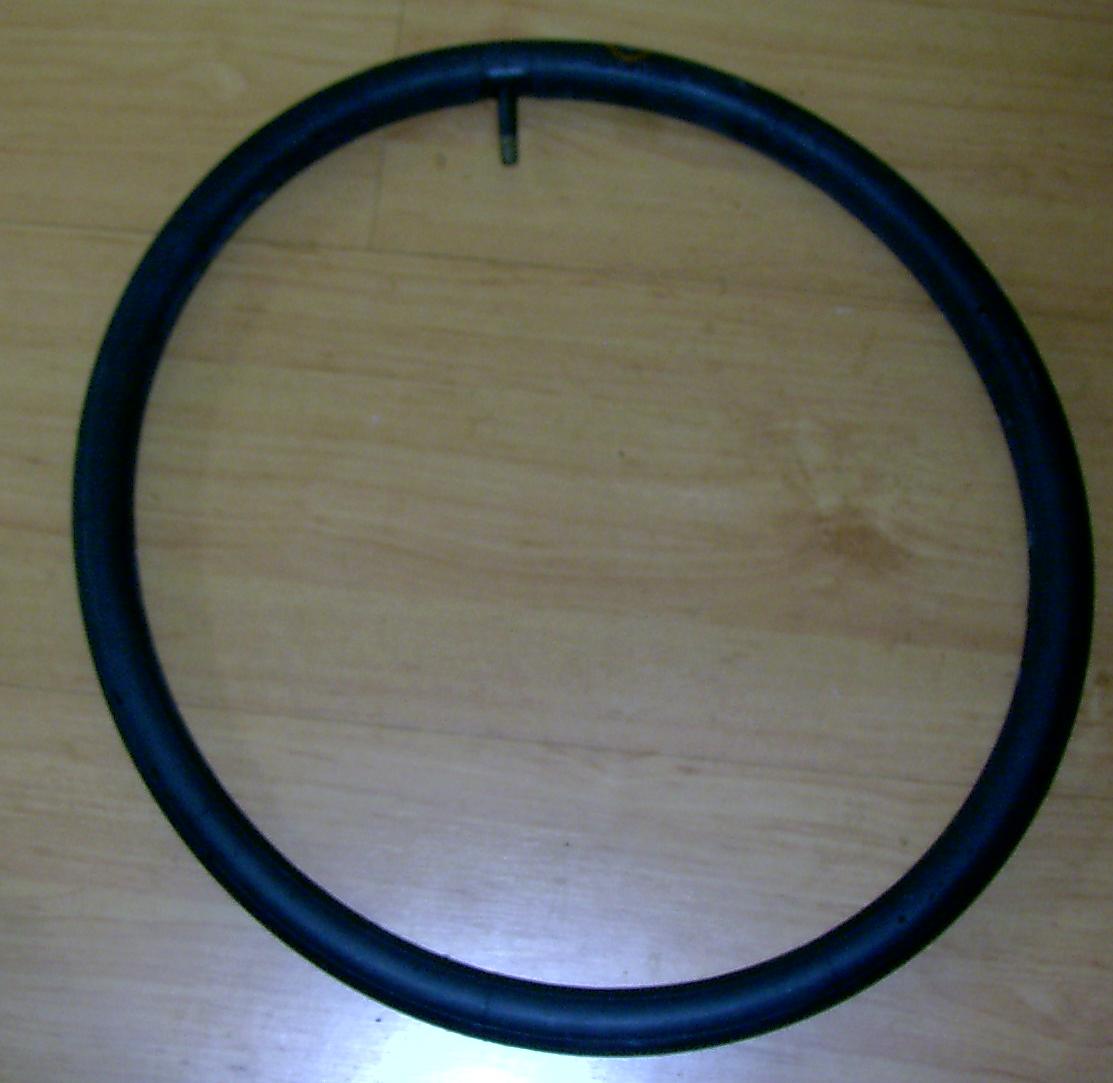
Inflate the innertube until it is just round. Now insert it inside the tire. Now you can insert the valve into the valve hole on the wheel and work one edge of the tire into the wheel groove with your hands. Deflate the innertube completely by depressing the pin inside the valve with the gearshift skewer or some other handy small object. When the inner tube is completely deflated, you will be able to work the second edge of the tire into the wheel with your hands, starting at one edge of the wheel and working around its perimeter. The last few inches may be stubborn -- be sure the tire is fully deflated. Some people use libricants such as talcum powder on the tire at this point, although I have not found this necessary. When you've finished this, the wheel is assembled. Inflate the tire to about 50% of its full pressure, then fully deflate it again to make sure that no part of the innertube is binding inside the tire. You are now ready to reattach the wheel to the bicycle.
Place the bicycle on its side with the chain wheel up. Put the chain around the rear sprocket, and slide the axle into the rear fork plates. The tire must be deflated for this step, or you will find that the wheel will hang up on the rear brake. Put the lugged washers onto the axles lug side down. Make sure that the lugs are fully in the wheel slots and that the bottom surfaces of the washers are right on the fork plates. This means that the wheels do not go all the way inside the fork plates; they're stopped by the lugs in the washers which fit between the axle and the inside of the fork. If you mess this up, then you will probably break the washers as you tighten the wheel bolts. New washers are a mail-order item which costs around $10. Put one wheel nut on the non-drive side of the rear axle and use your fingers to tighten it. Put the other nut on the drive-side and re-check the fit of the lugged washers, and then tighten it up. The axle is flattened on two sides, so you can tighten the non-drive-side-nut without having it move on you. Now you can flip the bike over and tighten the drive-side nut.
Now place the chain tensioner on the drive-side rear axle and push it home. It should fit on with only a little force, and mate solidly with the nut and the fork plate.
Now you must install the gearshift pulley tab washer and its protective washer. Put the gearshift pulley tab washer on the drive-side axle and line its tab up in a straight line with the gearshift cable on the side of the axle closest to the cable. Put the protective washer (the one with a straight-sided hole through its middle) on top of the tab washer. This washer's job is to keep the tab washer aligned as you tighten the second drive-side axle nut, so it's important to get the order of assembly right here.
Now you can tighten the second drive-side nut onto the axle, thus holding the chain tensioner and the gearshift pulley tab washer in place. You should be unable to move this nut with your fingers, but it need not be quite as tight as the first pair of wheel nuts.
Now install the gearshift pulley by forcing it over the axle and onto the tabbed washer. It should go on relatively easily; make sure that the slot in the gearshift pulley assembly is properly aligned with the tab on the washer which holds it in place.
Install the gearshift xskewer in the axle by pushing the threaded end into the axle and then twisting it clockwise until it engages, then screwing it into place. You may need to unscrew it a little bit to ensure that the chain runs straight in the gearshift pulley's channel.
Put on your surgical gloves for this step if you're using them. Thread the chain around the rear sprocket so that the outside sprocket teeth each engage a link of the chain. Place the chain on the top of the front sprocket so that several of the links are engaged in the front sprocket teeth. Now thread the chain over the idler wheel closest to the sprocket. Now cock the idler arm over the drive chain, and place the far idler wheel on top of the chain. It's easiest to do this when the bicycle is at least partially folded in the middle. You should be able to pick the bicycle up by its rear triangle and turn the pedals to fully engage the chain to drive the rear wheel.
The last step is to adjust the gearshift sprocket. On my 5-speed, I put the gearshift lever into 2nd gear. Then I place the bicycle on the floor drive-side up, with the free-side pedal cocked to the bottom of its travel. In this position, gravity should hold the bicycle fully unfolded. Now I can thread the gearshift cable back into the gearshift skewer chain, then adjust the gearshift skewer until the middle of its red stripe is even with the edge of the drive-side axle. Your indicator or procedures may vary at this point if you are using a newer or older hub than the Sturmey-Archer Sprinter 5 hub; consult your documentation for the correct procedure. I usually have to get a flashlight for this, even in daylight. Next, I tighten the jam nut on the gearshift cable to ensure that the adjustment does not move around while I'm riding the bicycle. A badly adjusted internal gear hub will skip, so it's important to get this procedure correct.
Now you can inflate the rear tire fully. If you're being careful, take a ride around the block on your repaired Brompton. Verify that all of the gears work and that nothing is slipping or flapping.
So far, I have ridden the patch installed in these pictures on four round-trip commutes to work without incident; the bicycle part of my basic commute involves a two-mile ride on city streets and bicycle paths, including a hill close to a mile in length on which I often top 30 mph on my trip home. I've had no further troubles with my bicycle or my tire during these commutes.
Copyright Charles Shapiro Aug 2004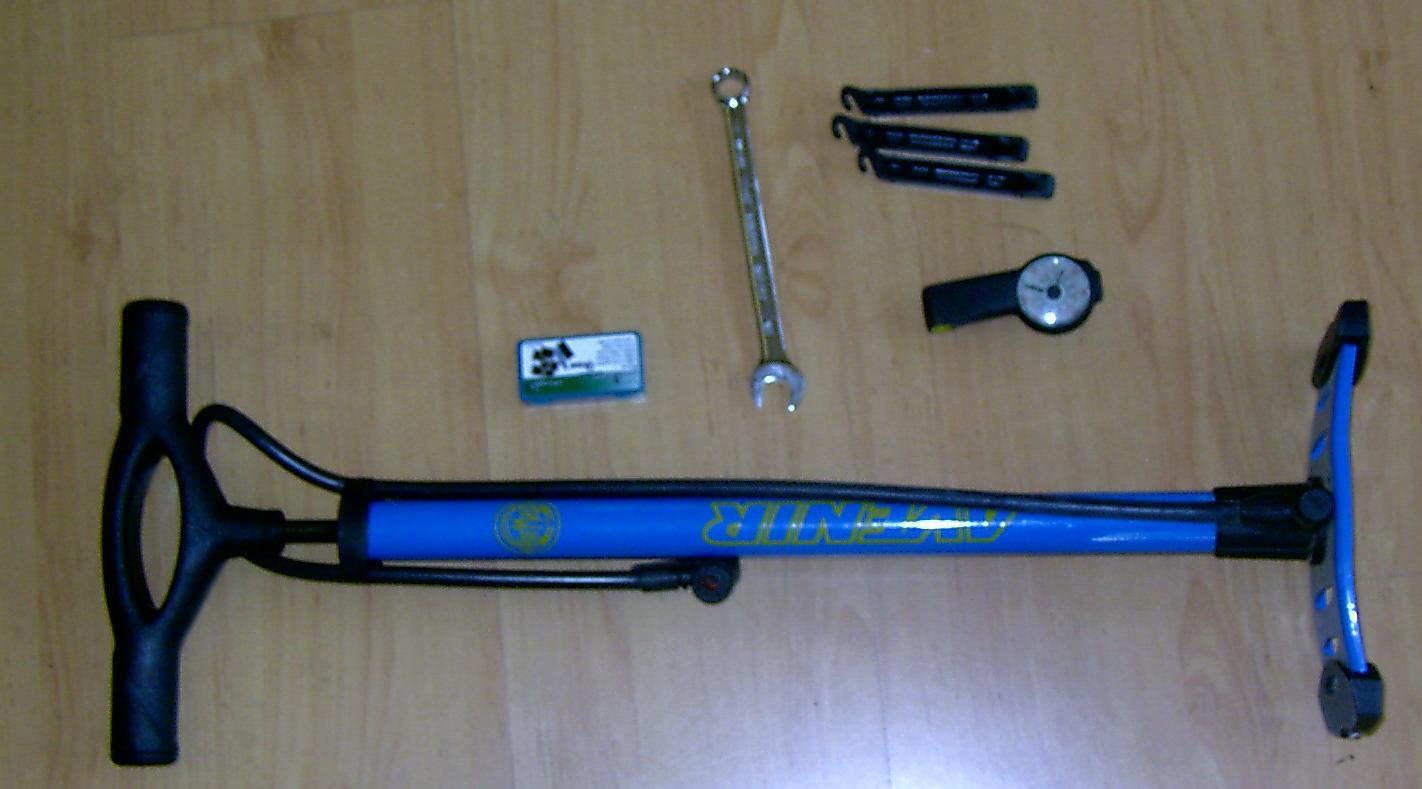